Preparing to Paper Piece
Although foundation (paper) piecing is easy to do, there are a few little tricks that can help you be successful from the very start. Today, we thought we'd share our favorite pro tips for preparing to take that first paper piecing stitch!
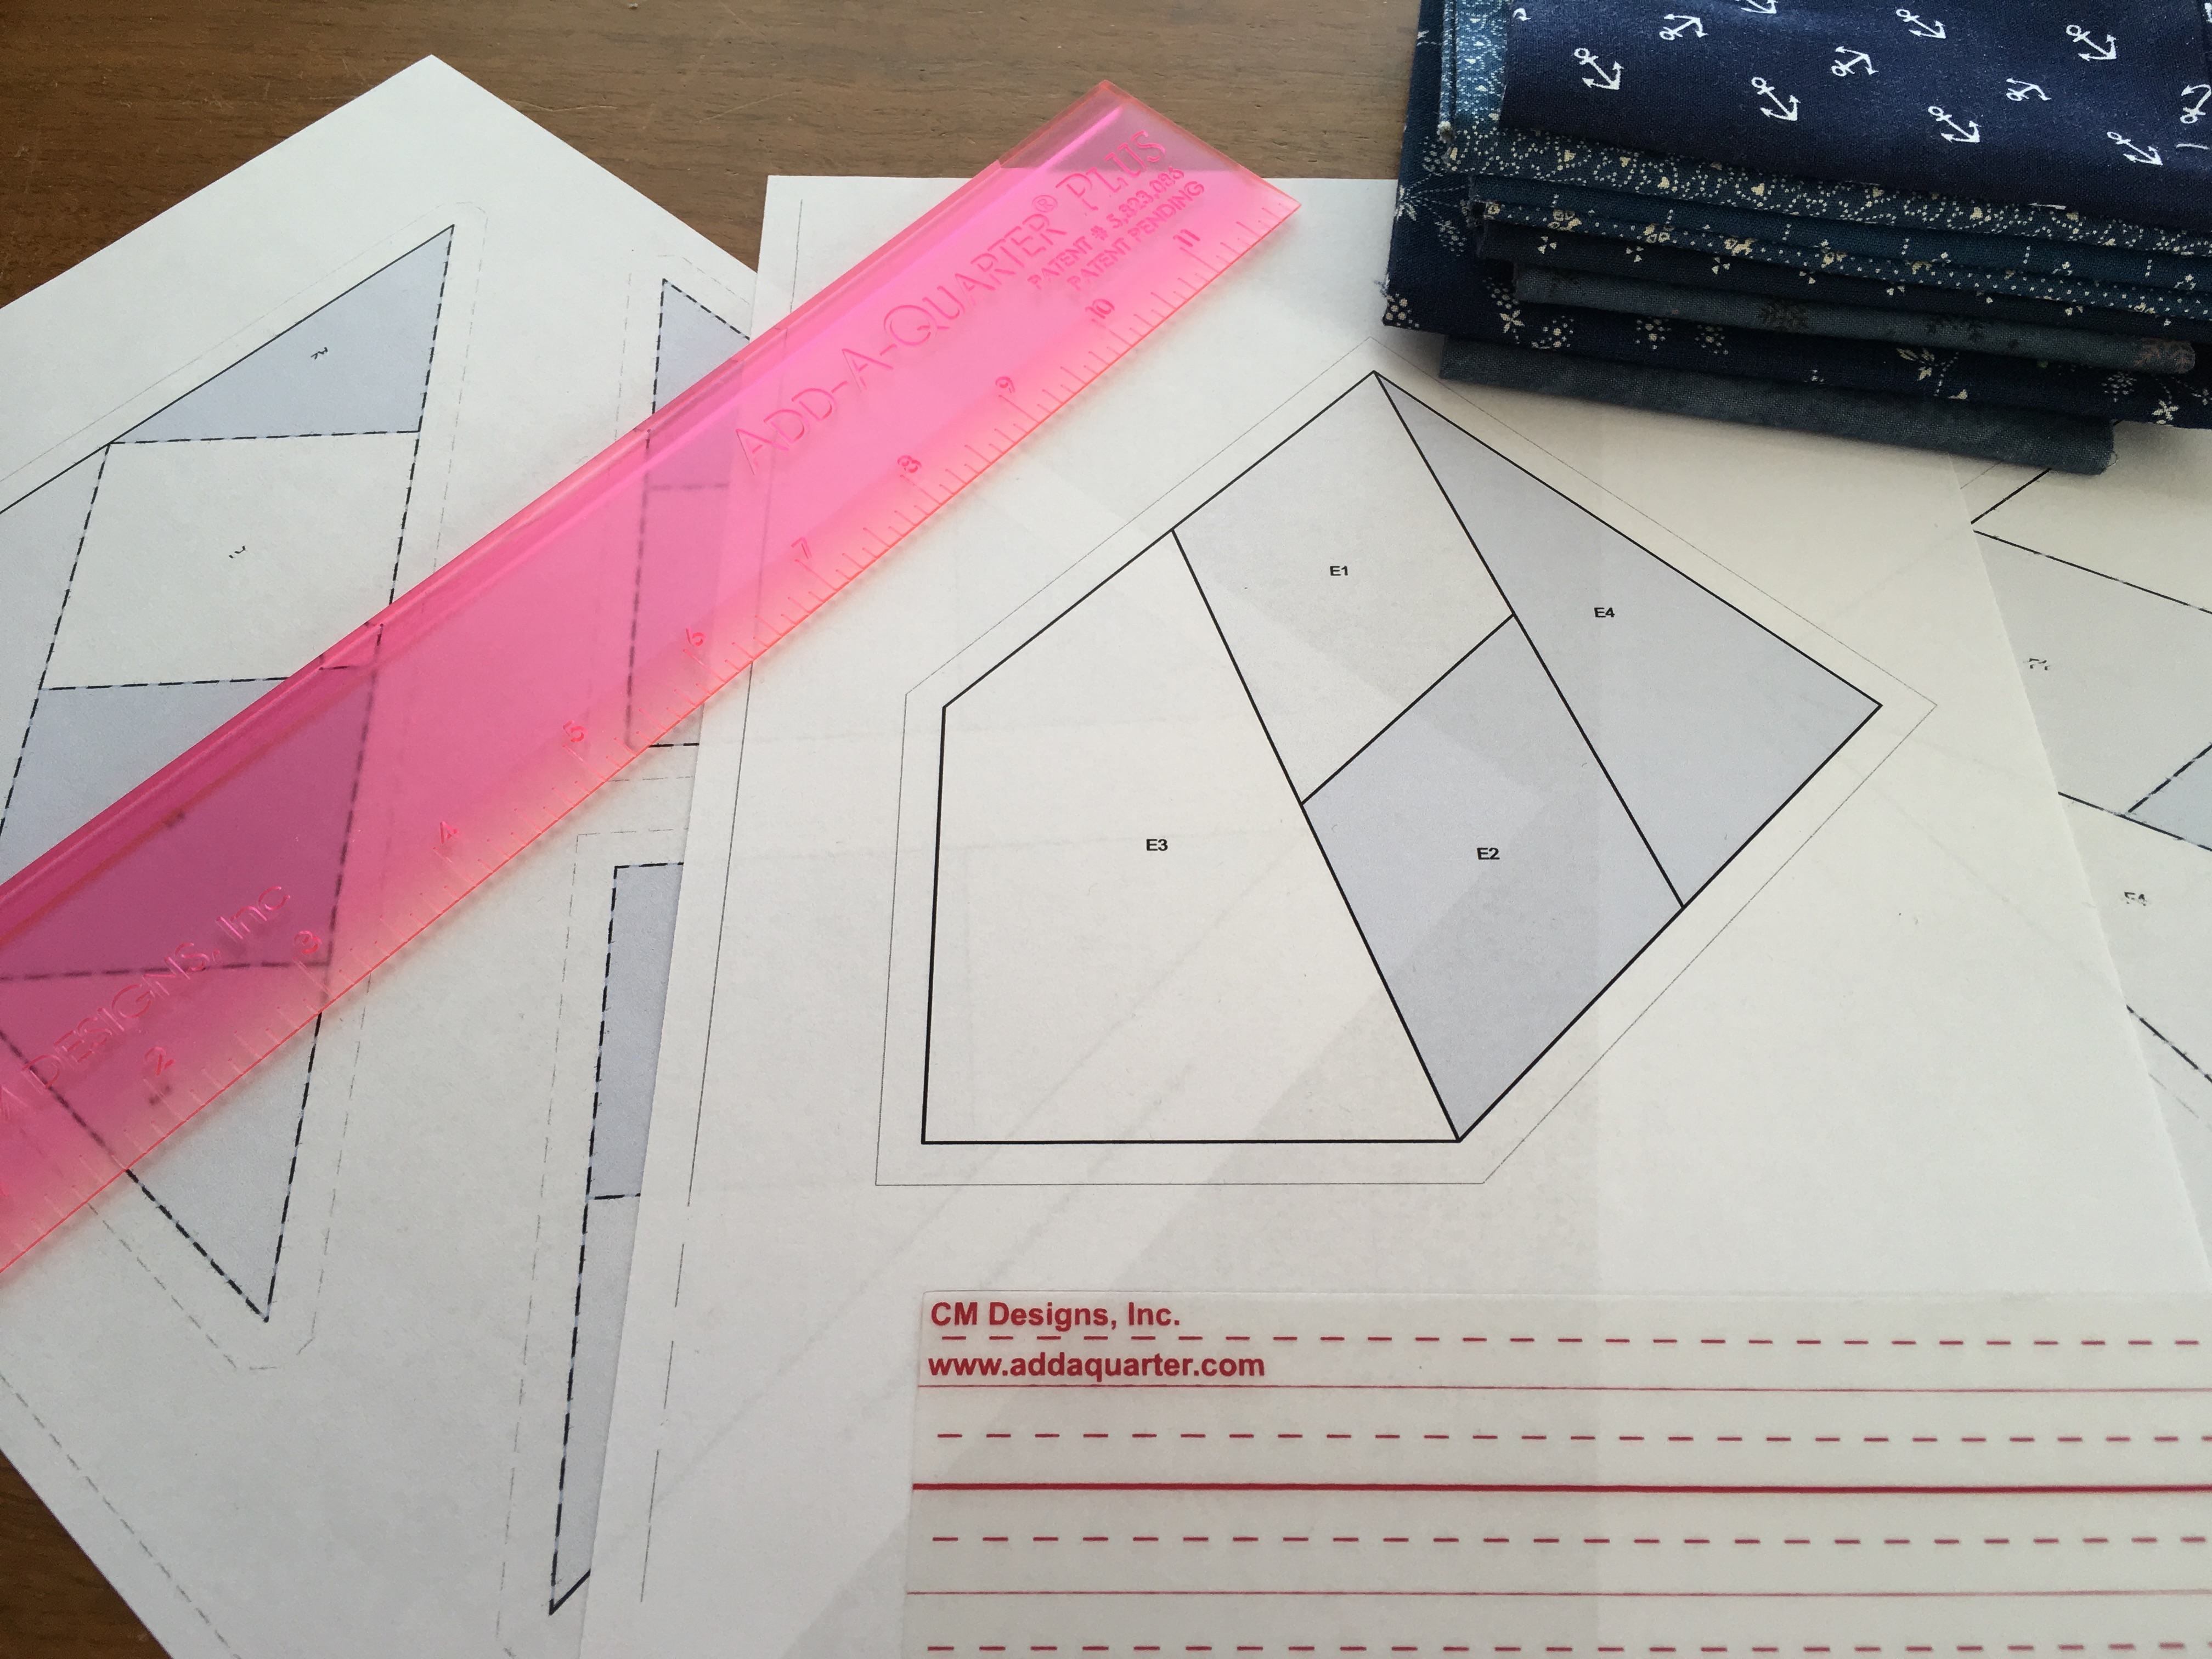
- Make copies of the patterns that you are going to use. Make all of your copies from the same original and use the same copy machine. All copy machines distort to some extent, so check your patterns by holding the original and the copy together with a light source behind the two sheets of paper. Make as many copies as necessary. It’s nice to have a few extras in case you make an error. Use the lightest weight paper you can find. The heavier the paper, the more difficult it is to remove.
- After making all your copies, trim each pattern leaving 1/8" to 1/4" on all sides. Do not trim on the outer lines.
- Set the stitch length on your sewing machine to 18-20 stitches per inch. The smaller stitches make it easier to rip off the paper.
- Place a piece of muslin or scrap fabric on your ironing board. When you press the pieces, the ink from the copies may transfer onto your ironing board cover if you don't take this precaution.
- It is helpful to have something white to place your pattern face down on. It could be a white sewing table or just a piece of white paper. Placing your pattern on something white allows the lines to show through, making it easier to place your first fabric.
We hope you find these tried-and-true tips to be helpful in your paper piecing projects. If you have any other insider tips to share, please add them in the comments below.
Happy paper piecing!
Pressing Matters

Pressing is an important part of paper piecing and done correctly will help to insure a more satisfactory quilt. Here are some suggestions to follow:
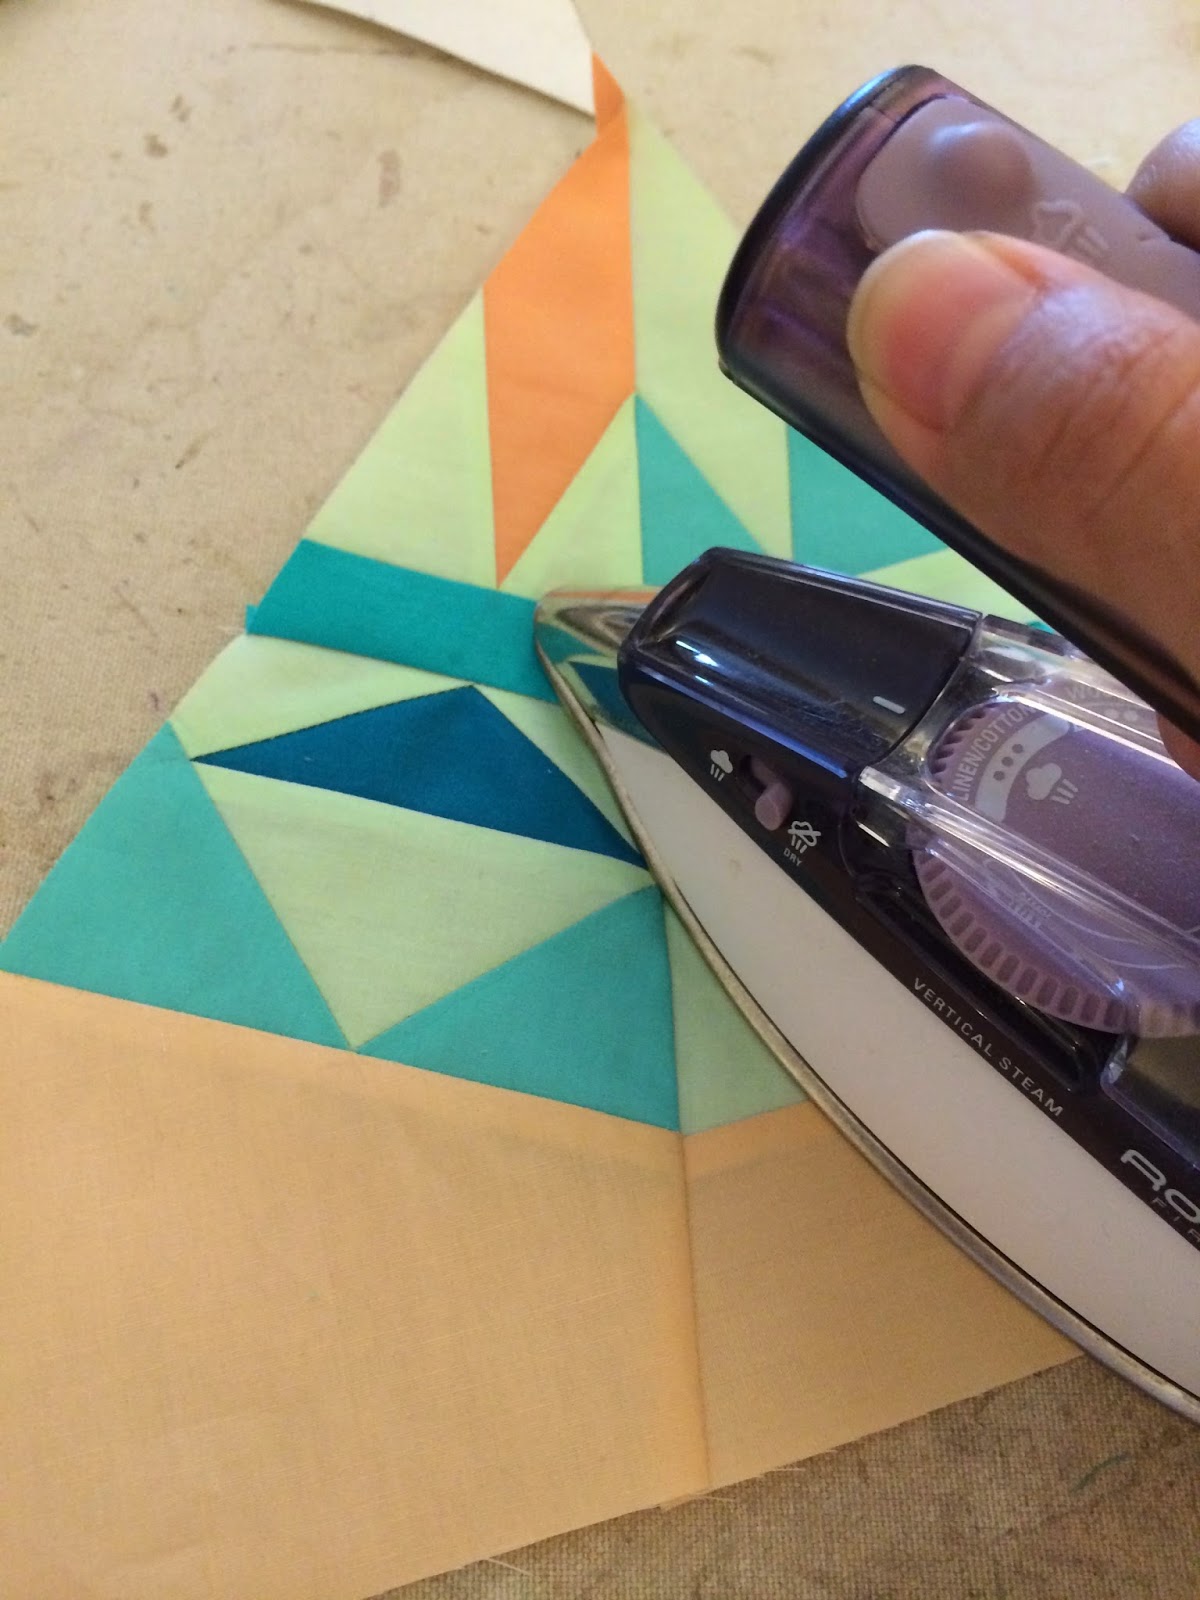
- Use a hot dry iron. Steam will make the foundation paper curl.
- Place a piece of muslin on your ironing board to protect it from ink that may come off the foundations when pressing.
- Always press with the paper side down on your ironing board. If you press on the paper side, ink will be transferred to the iron and then onto your fabric leaving black smudges.
- The traditional way to press is always to the dark side. With paper piecing you will not be able to always follow this rule. Always press the seams to one side. Pressing this way adds strength to your quilt and helps to distribute the bulk. This is very important especially when working with flannel.
Have you ever run into a pressing problem when working with foundation (paper) piecing? Leave a comment below describing it, and we'll reply with any suggestions we have for a solution.
Happy pressing!
Paper Piecing Helpers - Add Enough!
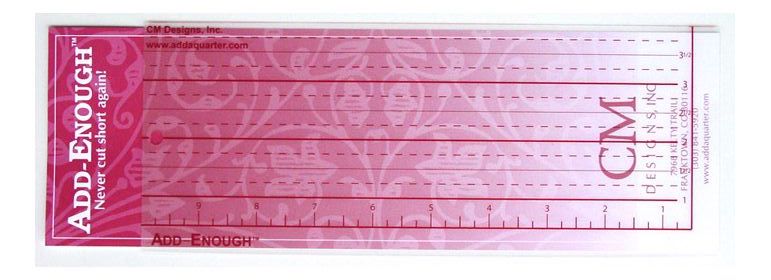
Quilters who say they don't like to paper piece often give "too much wasted fabric" as their reason. And it's true that when you're foundation (paper) piecing, it's sometimes difficult to figure out how large to cut fabric patches. They need to be big enough to cover the entire area shown on the foundation, but trickier still is the amount needed to cover the seam allowances fully. You can just go ahead and cut honking big fabric patches as an insurance policy, but they can get hard to handle and that's where the wasted fabric comes in.
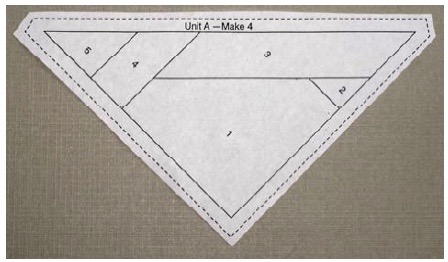
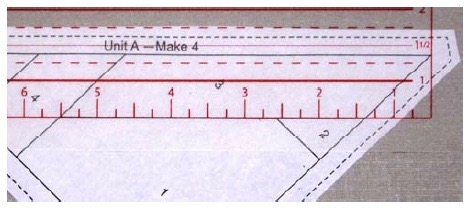
We've got a solution. The Add-Enough tool helps you know just what size to cut those patches, even if the quilt pattern you're using doesn't specify, which many do not. Let's say you want to know what size to cut fabric for area 3 on this unit:
All you have to do is position the Add-Enough tool on the foundation, lining up the bottom line of the tool with the bottom line of the area for which you want to cut fabric. Adjust the Add-Enough to the right until the right line lines up with the edge of that same patch. Then follow the directions on the tool to determine the correct size fabric rectangle to cut. Easy peasy and a minimum of fabric waste!
We have a complete Add-Enough tutorial available to download for easy reference. And Add-Enough tools are available for purchase here. Treat yourself to this inexpensive little secret weapon and make paper piecing easier than ever before!
Have you used the Add-Enough tool in your quilting? If so, we'd love to hear what you think in the comments below!
Working the (Patchwork) Angles PLUS A Giveaway!
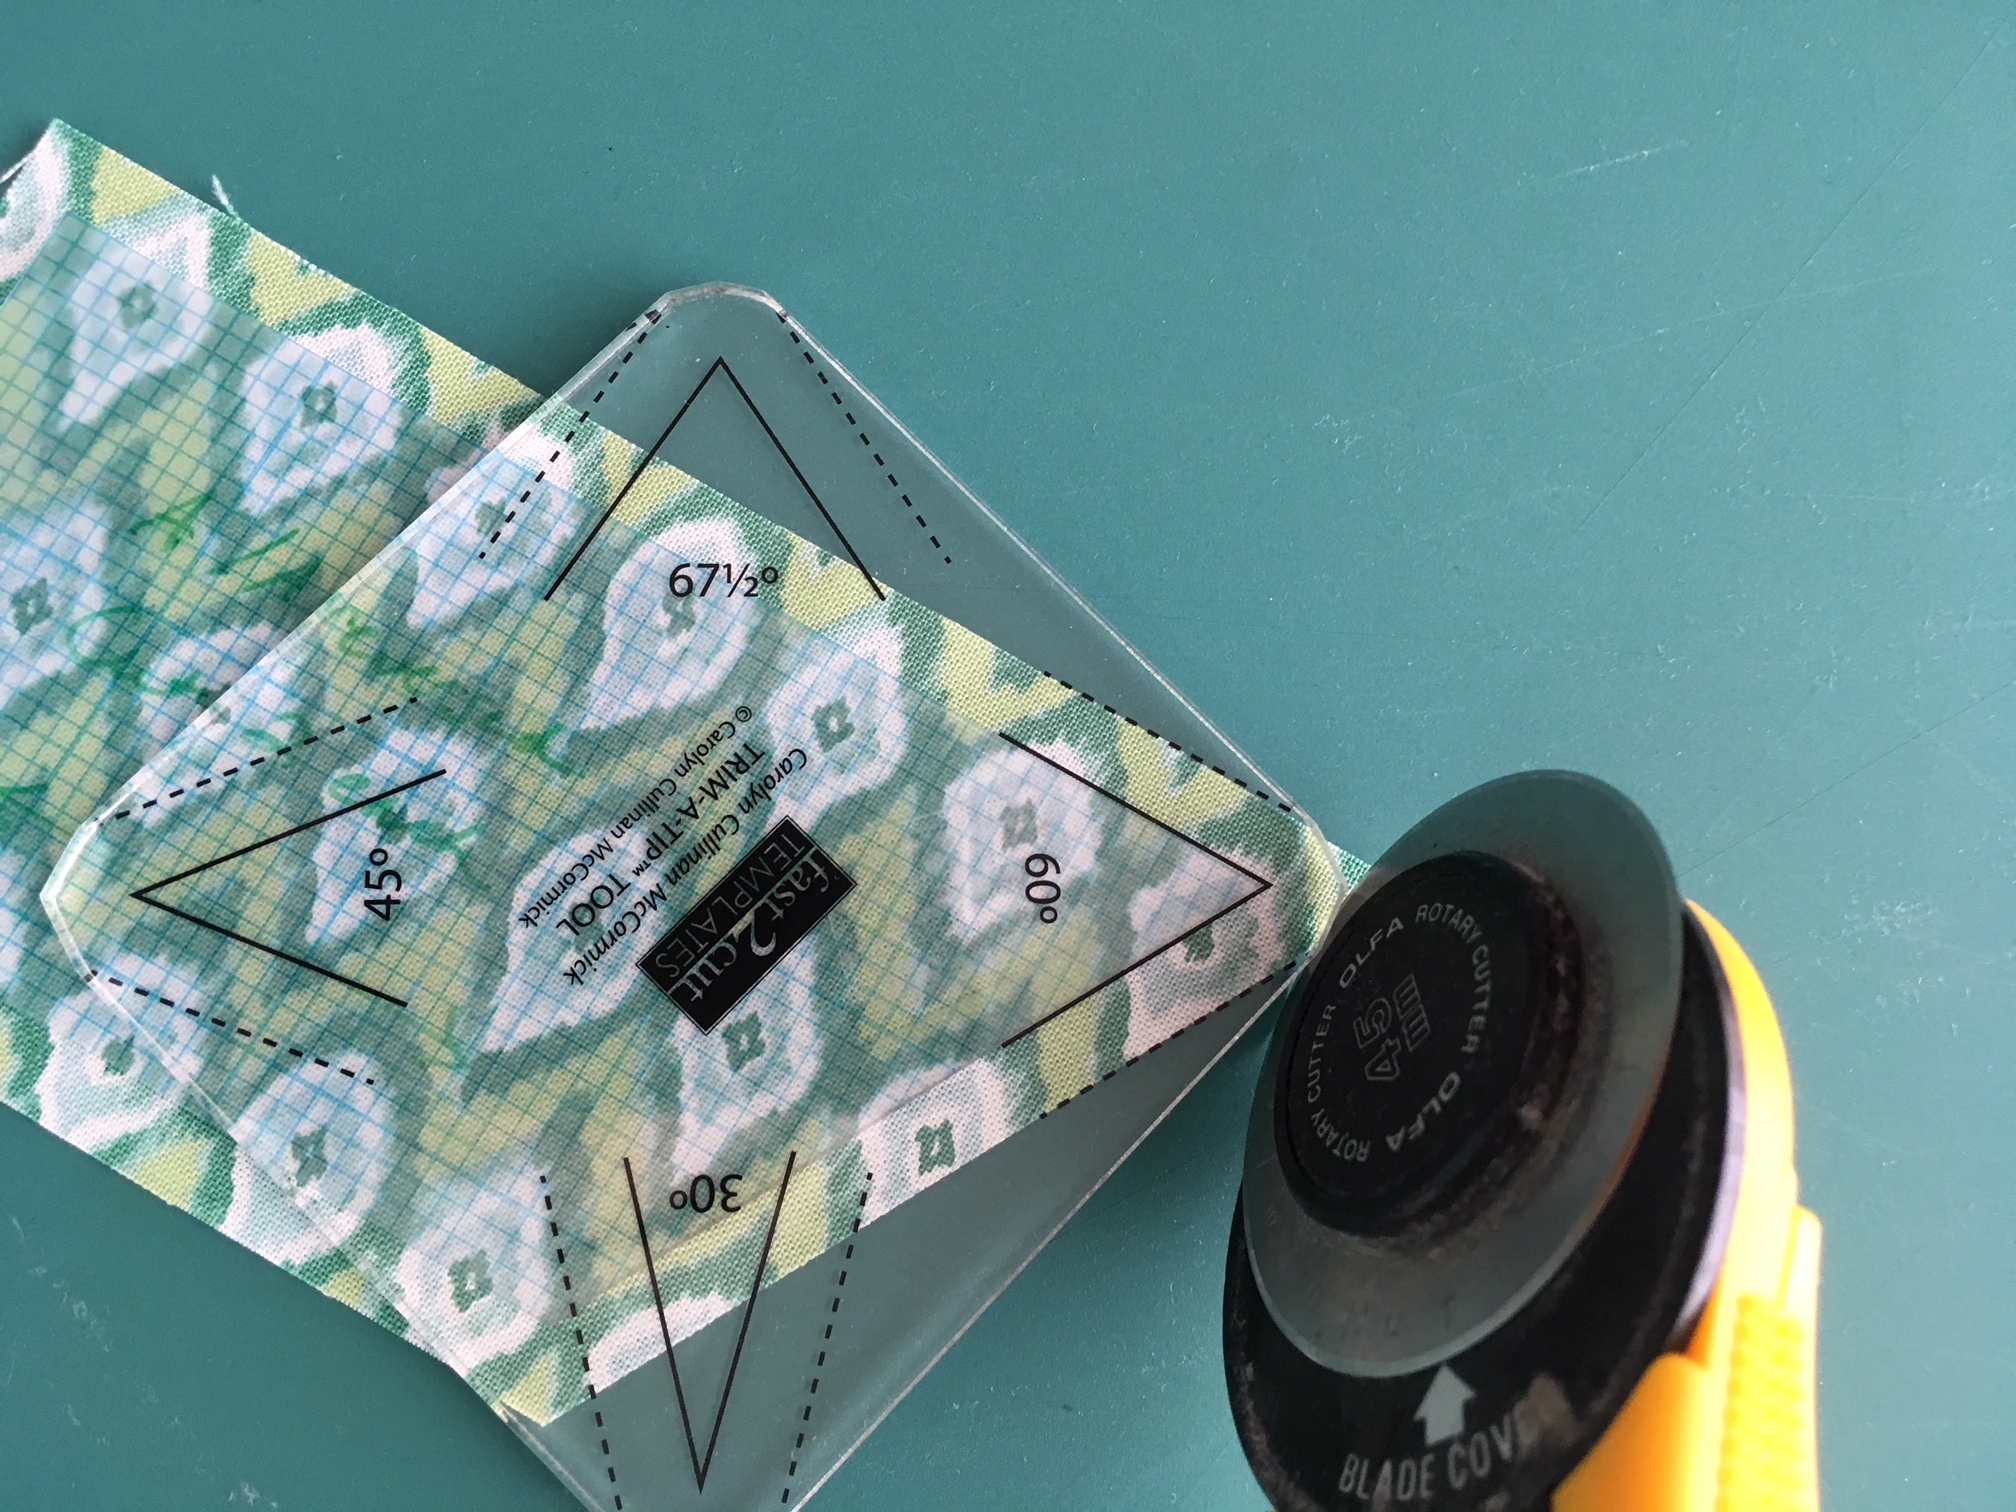
Patchwork triangles and other shapes with acute (less than 90°) angles can be tricky. The same angles that make such appealing shapes and patterns in our quilts also unfortunately create wonky tips of fabric that are tough to align correctly when sewing patches together. Trimming these fabric tips at an engineered angle solves the problem and allows patches to line up beautifully, but not all template patterns are designed that way. And if you’re rotary-cutting patches with acute-angled corners, you’ve been totally on your own to figure out how to sew everything together.
But not anymore! Our new Trim-A-Tip™ acrylic tool lets you trim the tips from angled quilt patches using a couple of fast swipes of your rotary cutter. And we’ve designed it to work for any acute angle used in patchwork, including 30°, 45°, 60°, and 67 1/2°.
With the Trim-A-Tip, it’s much easier to make fun quilt blocks like
these:




Trim-A-Tip has done all the geometry and math for you. Just line up
the tool with the fabric and/or template, and make 2 small cuts to create
easy-to-align edges.
Check out our step-by-step tutorial, and then give the Trim-A-Tip a try. We’re sure you’ll see improvement in your angled patchwork immediately!
Now, for our first blog giveaway. We have a copy of the Quiltmaker 100 Blocks magazine 2018 wall calendar, featuring one of Carolyn's original block patterns, and we'd like to send it to a blog reader in time for New Year's. Post a comment on our blog by midnight Christmas Eve and we'll pick a random winner between the holidays and get that calendar on its way. Remember to include your email address so we can contact you if you're the winner. Best of luck to all who enter!

UFOs No More! Quilting in the Last Days of 2017

I've been having a wonderful time lately digging into my stash of UFOs (unfinished objects) and working towards completions. Somehow it just seems right to wrap up the year with some finished quilts that otherwise might have hung around unfinished forever. I hope these quilt stories and photos inspire you to finish a project as well!
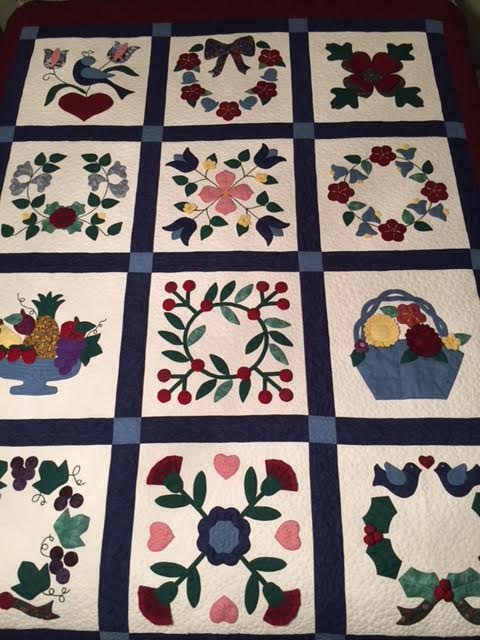
Appliqué Sampler
Before I started to do paper piecing I taught a variety of classes at a quilt shop in Bozeman, Montana call The Patchworks. This is the appliqué class that I taught using Eleanor Burns' book Appliqué in a Day. Awhile back I was re-arranging my fabric closet and came across this quilt. I had all the blocks finished and half of the quilt put together. We moved to Colorado and I had never got around to finishing the quilt. My "quilting" goal in life is to finish an unfinished project after I complete a major project like a book. I finishing putting the quilt together and gave it to my friend Susan Bateman to quilt it. She finished quilting it a few months ago....I just finally got around to putting on the binding. It feels so good to finish a project that I probably started about 22 years ago.
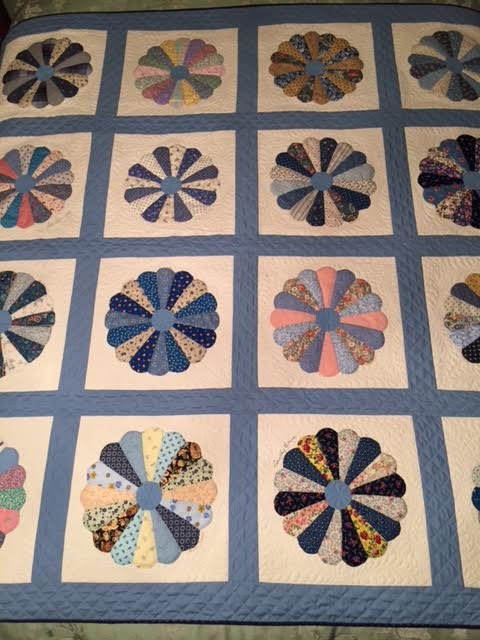
Memory Plates
While I was living in Bozeman, I was a member of a quilt guild. Every month one of the members was selected and the other members would make them a block of their choice. When it was my turn I selected the Dresden Plate.
This is another one of the quilts that I came across when re-arranging my fabric closets. I had received the blocks but just never did get them put together in a quilt. Some of the members had signed the blocks. I had such a wonderful time putting the quilt together and remembering the ladies that had taken time to make a block for me. I know that some of the ladies have since passed away. My one regret is that I didn't put this quilt together years ago. How old does a quilt need to be before it is considered an antique?? These blocks could be about 40 years old....dang, I have been quilting a long time.....does that mean I am an antique?
Recent posts
-
12/11/2018Santa's Helpers
-
12/02/2018Girls' Week 2018
-
11/07/2018On the Road Again

