
Preparing to Paper Piece
01/31/2018
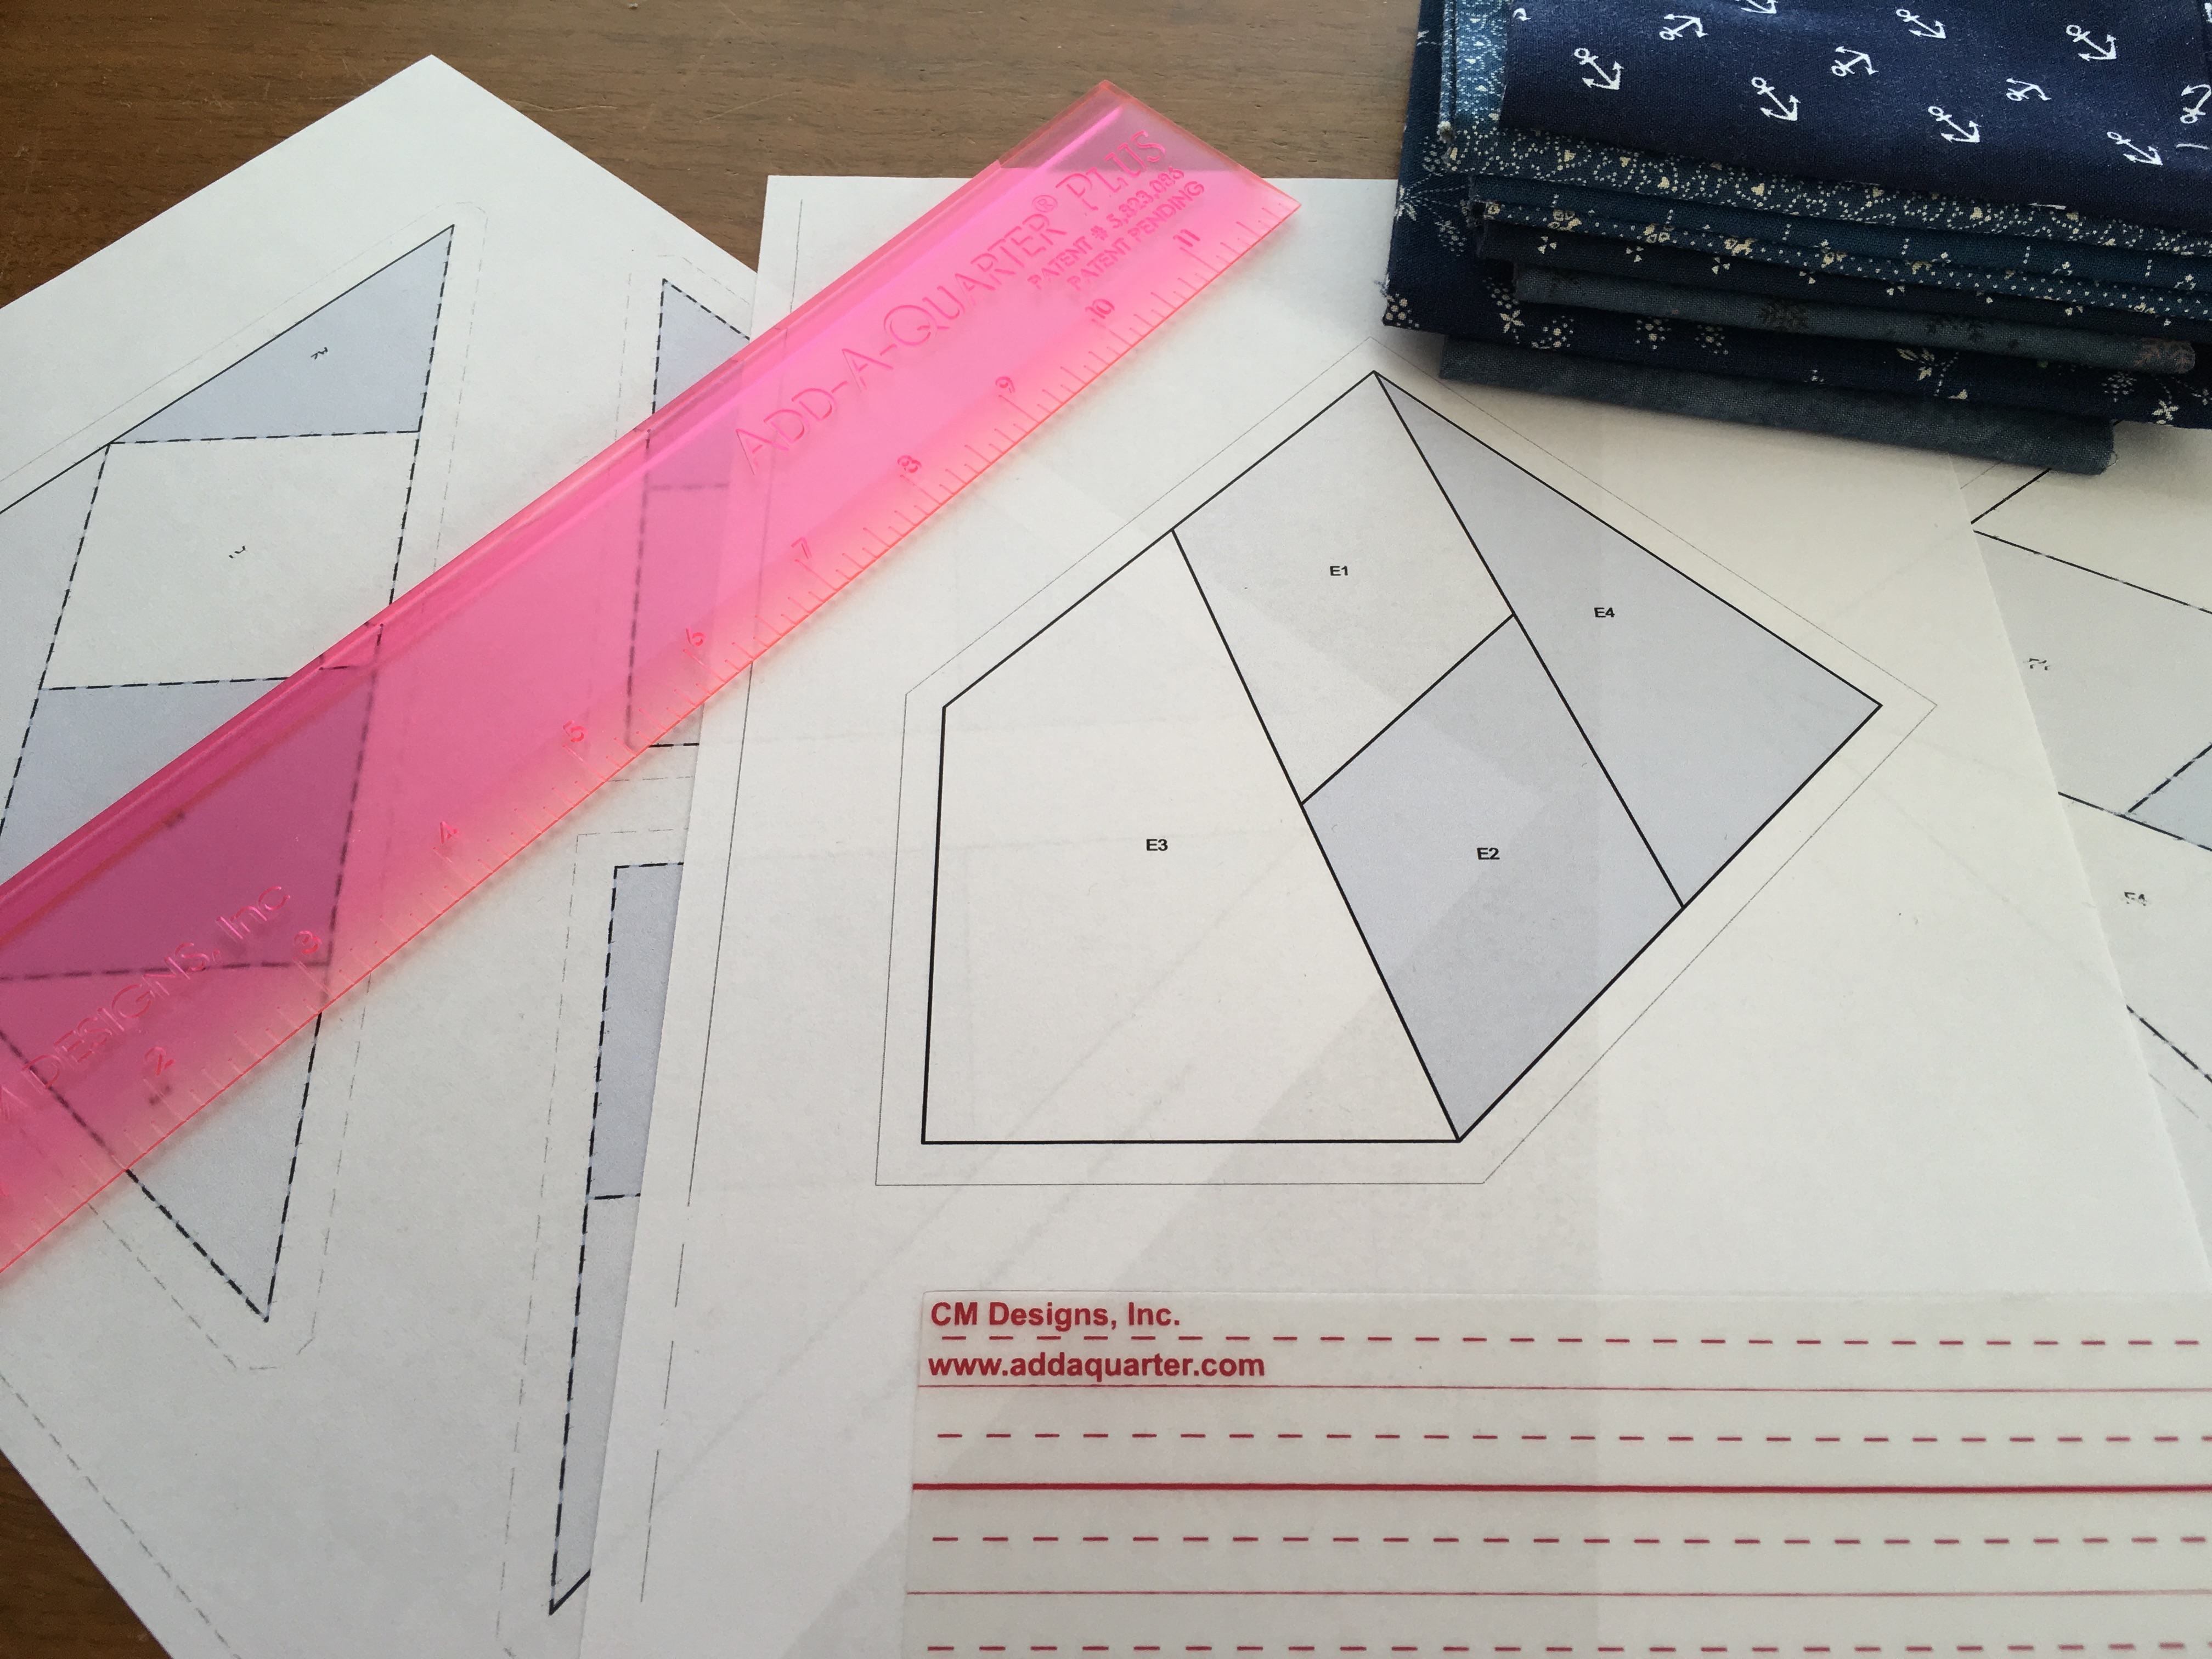
Although foundation (paper) piecing is easy to do, there are a few little tricks that can help you be successful from the very start. Today, we thought we'd share our favorite pro tips for preparing to take that first paper piecing stitch!
- Make copies of the patterns that you are going to use. Make all of your copies from the same original and use the same copy machine. All copy machines distort to some extent, so check your patterns by holding the original and the copy together with a light source behind the two sheets of paper. Make as many copies as necessary. It’s nice to have a few extras in case you make an error. Use the lightest weight paper you can find. The heavier the paper, the more difficult it is to remove.
- After making all your copies, trim each pattern leaving 1/8" to 1/4" on all sides. Do not trim on the outer lines.
- Set the stitch length on your sewing machine to 18-20 stitches per inch. The smaller stitches make it easier to rip off the paper.
- Place a piece of muslin or scrap fabric on your ironing board. When you press the pieces, the ink from the copies may transfer onto your ironing board cover if you don't take this precaution.
- It is helpful to have something white to place your pattern face down on. It could be a white sewing table or just a piece of white paper. Placing your pattern on something white allows the lines to show through, making it easier to place your first fabric.
We hope you find these tried-and-true tips to be helpful in your paper piecing projects. If you have any other insider tips to share, please add them in the comments below.
Happy paper piecing!
Recent posts
-
12/11/2018Santa's Helpers
-
12/02/2018Girls' Week 2018
-
11/07/2018On the Road Again